 DIY
DIY
Snowblowers – Front and Rear PTO Driven Conversions for…
Snow season is coming so here is my post on tractor mounted snow blowers.
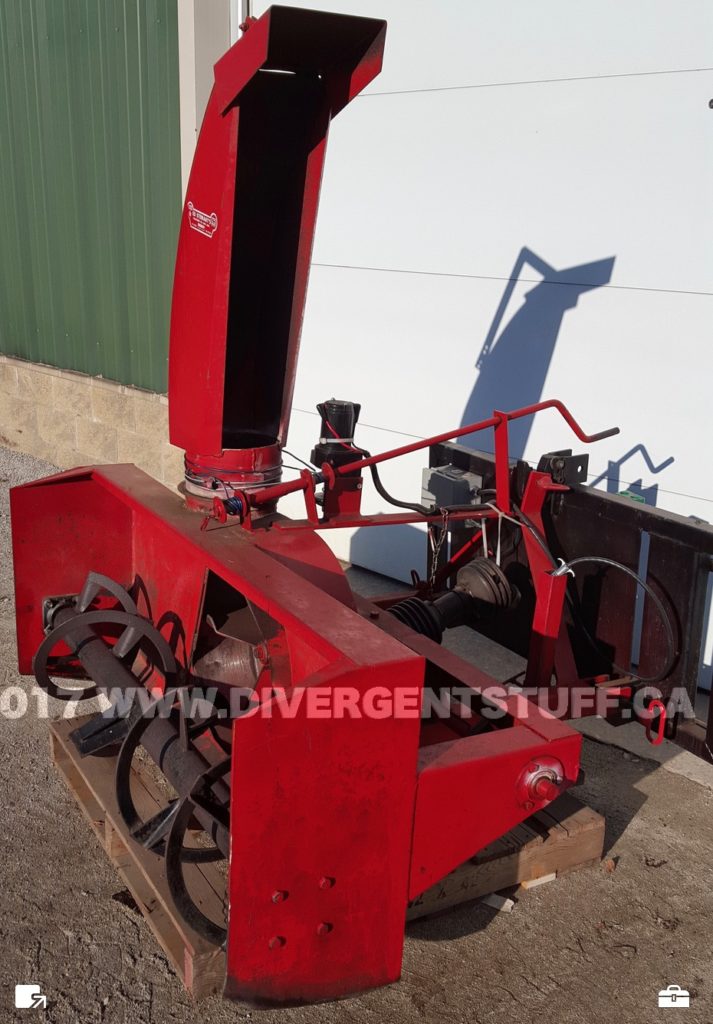
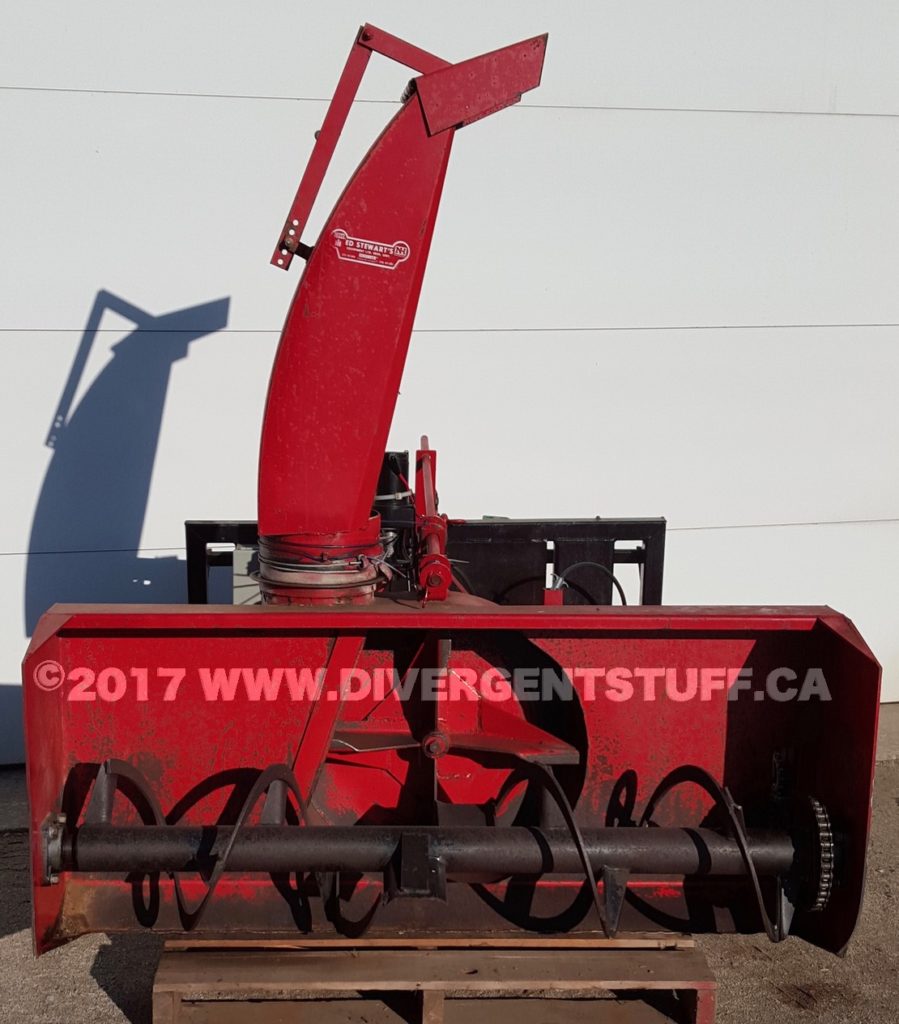
I’ve been running rear 3 Point Hitch mounted snow blowers for 30+ years now on an open station tractor. Going backwards was a real pain in the neck, especially when you are eating snow because the wind is coming from every direction.
My first tractor was a 24 HP Kubota compact tractor with a 60 inch 540 RPM rear mounted Agro Trend snowblower. The tractor was gear drive, had turf tires and 4 wheel drive and produced about 18 HP at the PTO. I then upgraded to a 60HP New Holland Compact Utility Tractor (CUT) which had about 45HP available at the PTO. The New Holland had front mounted auxiliary hydraulics so I decided then and there to try and convert my snowblower to a front mount.
My New Holland (NH) tractor had a quoted 16 GPM hydraulic flow at the front at 2,500 psi. I’m guessing it was more 12-16 GPM and closer to the 12 side. The NH had a quick attach loader and a single rear hydraulic remote that was routed to a two way diverter valve attached to the loader. Flipping the lever sent the hydraulic flow to either the flat faced couplers mounted on the loader or the couplers at the back of the tractor.
My goal was to use the front mounted hydraulics to drive a hydraulic motor which in turn would drive the PTO shaft on the snow blower.
Using a website like
http://www.metaris.com/hp-calculator.php
I calculated the available theoretical horsepower was about 23 HP. At worst case of 2,400 psi and 12GPM that would be about 16.8 HP which was about the same as my first Kubota’s PTO HP.
I wasn’t sure how well the hydraulic motor would work so decided that I didn’t want to modify the snow blower in any way that would prevent me from using it as a rear mounted snow blower. Ideally I would have cut the snow blower 3PH mount arms down and go direct or belt drive from the hydraulic motor to the snow blower gear box.

I made a steel 3PH to quick attach adapter bracket out of some scrap metal I had available. The adapter was basically 2 inch x 0.100″ square tubing with a piece 0.25″steel plate in the middle for mounting the hydraulic motor. I found a cheap surplus 5.9 cu. in. 4-Bolt Hydraulic Gerotor Motor from Princess Auto on sale that had a 1″ keyed shaft and was rated at 16GPM and 2,400 psi and rotated at 580 RPM. I bought 6’x1/2″ hydraulic hose and flat faced couplers from Princess Auto and I purchased a splined PTO to 1″ shaft adapter from my tractor dealer. In all I was in for about $350 in purchased parts.
I made the adapter bracket to be universal for all class 1 3PH. I thought I might want to run my cultivator on the front or at some future time build a power rake attachment.
I mounted the snowblower to the adapter. Normally the distance between the implement gear box and the tractor PTO shaft is about twice as long as what I had on my adapter bracket so I had to cut down an old PTO shaft to make it work. I hooked everything up and gave it a go. I used a laser tachometer to confirm the PTO shaft speed and found I could rev it to about 580 RPM free wheeling with high engine RPM. That meant I had enough initial hydraulic flow – the proof in the pudding would be to actually throw snow. Running the 540 RPM gear box at 580 RPM isn’t a good idea but my New Holland was gear drive and so I used the foot throttle regularly to control my speed instead of fixing the throttle. I wouldn’t be running at wide open throttle and I used my laser tachometer to estimate my PTO speed compared with tractor engine RPM.
The only problem I had now was how to I move my manual snow blower chute turner now that the snow blower was a good 10 feet in front of me.
At first I thought of adding another hydraulic diverter valve and electric solenoid to drive another hydraulic motor but that made things expensive fast. Unfortunately my tractor had only a single hydraulic remote. I didn’t want to dump another $400 for making a hydraulic chute turner. I called the dealer and found out the adding a second tractor remote (parts only) was $2,400! I ran out and bought one along with a waterproof
I then had an inspiration when I got my Princess Auto (PA) sale flyer…they were advertising 1,500 lbs 12VDC electric ATV winches for $39! When I was at PA they also had a 3 button waterproof snow plow remote on sale so I grabbed that, a metal 4 wire trailer plug and a couple of automotive relays. I had a small waterproof metal enclosure kicking around so for about another $120 in parts I had an electric snowblower chute turner!
I ran a fused 12VDC 20A line and the snow plow remote wires to the loader and mounted the female trailer plug. I mounted the electrical box to the quick attach adapter plate and ran a 6 foot lead to the male end of the trailer plug. In the electrical box was the relays to drive the winch motor contacts. The winch used a 20 foot stainless steel aircraft cable mounted on a drum. There was a mechanical disconnect switch on the winch to allow users to quickly uncouple the motor from the spool. I decided to use this to allow me to run the snow blower in both electric and manual chute turner modes.
The stock snow blower’s manual chute turner used 1/4″ steel aircraft cable to turn the chute. I attached a second aircraft cable to the chute and welded a steel bracket to the snow blower to vertically mount the electric winch. This way I could quickly and easily disengage the electric winch if I needed to. The only modification I had to do on the winch was to shorten the aircraft cable and to add a second wire return on the spool. This way I could leave enough cable to spin the chute 360 degrees with the winch, and the winch could power both left and right had turning motions on the chute using one cable.
Now looking back on it I wish I took more and better photos. I’ve attached what photos I have of this setup when I sold the snow blower.
Come the first real snow fall I was able to test out this new set-up. With about 4 inches of powder snow the snowblower could still throw the swarf around 50 feet. Deeper or wet snow meant I had to run the tractor in a lower gear for the blower to keep up. The electric chute turner worked nicely. The only glitches I had were during freeze up conditions where the snow quickly turned to ice on the chute rotator mechanism causing it to jamb or mis-feed the wire on the spool. I normally keep the tractor mounted in a heated barn so this doesn’t turn into a huge problem made season. One of the drawbacks of the Agro Trend snowblower setup was that ice/snow buildup would eventually cause chute jamb ups. Reflecting back I think this is more of a design problem with Agro Trend’s chute and turner design than my retrofit. I had the same problems before I put on the electric turner.
Here’s a list of the Pros and Cons for moving the snowblower onto my loader:
| PROS | CONS |
|---|---|
| No neck or back pain because I'm always going forward. Much better than rear mounted system. | Snow blower sticks out far ahead of the front wheels making this setup less maneuverable in tight areas. |
| I "eat less snow" during bad wind conditions because the snow blower is mounted much further forward. | Less horsepower available when mounted on the front meaning deep or wet snow takes longer to clear. Hard impacted snow was harder to cut. |
| Setup was nice for cutting back tall snow banks at the side of the road from municipal snow plows. We had 6'+ deep snow banks one year ad the side of the road making it dangerous to pull out of the driveway and making snow drifting problems in my driveway. I could simply raise the loader and snow blower up high to make several passes on cutting the snow banks deep into the ditches. | The snow blower was narrower than my tractor by 6 inches on each side so I was always driving on the edges of snow banks especially on turns. |
| I could add extra weight on the snowblower cutting edge to cut impacted snow better. Example where municipal plows dump snow regularly you get a hump of ice building up over time. With the snow blower mounted on the loader I could easily change the cutting angle of the snow blower and add down force to cut the impacted snow that the snow blower would normally slide up and over. | I couldn't leave the front loader on float mode because it added too much weight to the snow blower. |
| I get to drive forwards! | I had to add a rear adjustable sliding shoe on the snow blower mounted on the 3 PH frame to make maintaining the snow blower cutting angle easier. The benefit was I got a parking stand for the blower this way. |
In all I was pleased with this front mounted setup. When I traded my New Holland in for the Kubota M59 I decided I wanted to find a bigger 6 foot wide snow blower and I was still considering running it on the front. Click here to view Snowblowers – Front and Rear PTO Driven Conversions for my Tractors – Part 2


